What you need
- A cardboard box that fits over the wearer's head with a little room to spare (sizes below).
- Paint in the colours from the paint list (acrylic or poster paint), or coloured paper squares and a glue stick.
- A ruler, a pencil, strong tape and a craft knife. An adult should do the cutting.
- Thin black mesh or fabric for the eye slit, and some foam offcuts for padding.
- For the shirt: a plain T-shirt and fabric paint, or felt squares and fabric glue.
Pick the right box size
Measure around the widest part of the head and leave 2–3 cm of space on each side. A box that is slightly too big is fine once you pad the inside; too small is not.
| Wearer | Box (each side) | Each square |
|---|---|---|
| Young kids, about 4–7 | 25 cm (10 in) | about 3 cm |
| Older kids and teens | 30 cm (12 in) | about 3.75 cm |
| Adults | 35 cm (14 in) | about 4.4 cm |
How to make the box head
- Tape the box shut, then cut away the bottom flaps so it slides over the head.
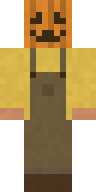
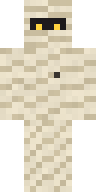
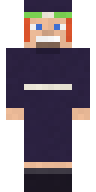
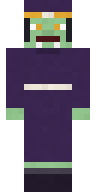
- Lightly rule an 8 × 8 grid on the top, front, back and both sides. Each square is the box width divided by 8.
- Fill each square with the colour from the guide above. Every square is numbered to match the paint list. Paper squares are quicker and neater than paint for most people.
- Cut the eye slit. On the front, the fifth row from the top is the eye row. Cut a slit across it and cover it from the inside with mesh, so you can see out but nobody can see in.
- Glue foam inside the top and sides so the box sits steady, and add a few small air holes in the top.
- For the shirt, rule an 8-wide by 12-tall grid on the front of the T-shirt and paint or glue it from the shirt guide.
Tips that save time
- Print the guide and tick off squares as you go.
- Paint the big areas first and the single-pixel details last.
- Make sure the wearer can look down to see their feet before heading out, and add reflective tape for trick-or-treating after dark.
- Short on time? Pick a skin with large blocks of colour, like a pumpkin head, ghost or knight.